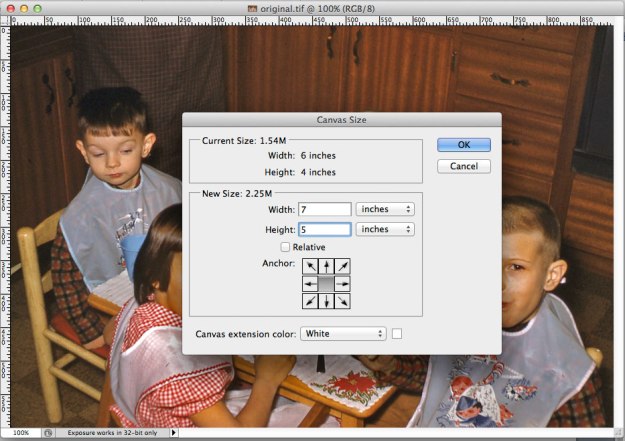
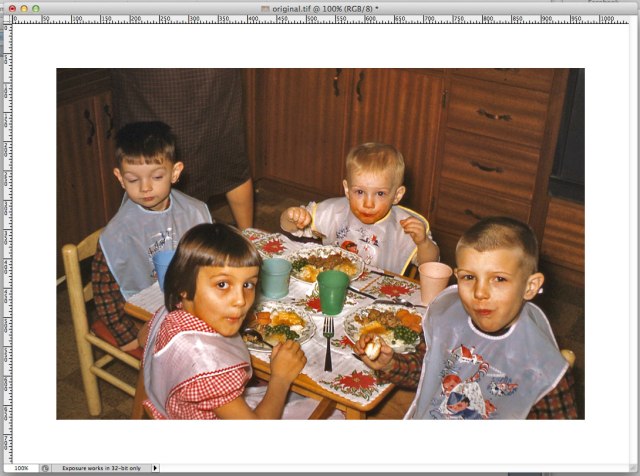
If you have a specific border sizes you want for your images you can add them as white canvas to your image. Do this in photoshop by going to IMAGE and selecting CANVAS SIZE. Set you canvas extension color to white and add the border size you want.
Since this white border will match the color of the paper you might want to add cut marks to the image so you can see where to cut it to achieve the exact size to your borders. Do this by stroking your image with included borders with a fine line around the edge.
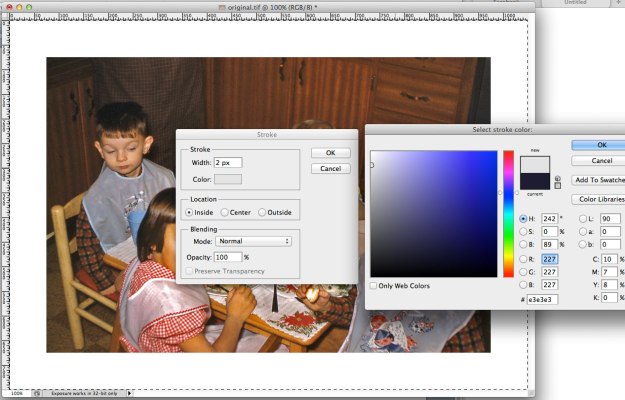
First select the whole image using the SELECT then ALL command or by pressing ⌘A. Then go to EDIT and STROKE. Set the width to 2 px and location to inside. Use a light gray color. If it slightly shows after cutting it won’t be noticeable at the edge of your borders.
If you have included your own borders on your images then write “none” in the border size box on the POB order form. Borders in the order form box are not as accurate as adding your own. The Epson driver adds about one inch to the top and bottom of each file as its located on the roll paper to give room for cutting. We only charge for the image and the borders as is stated on the order form. We don’t charge for the extra paper that Epson includes as default cutting space.


